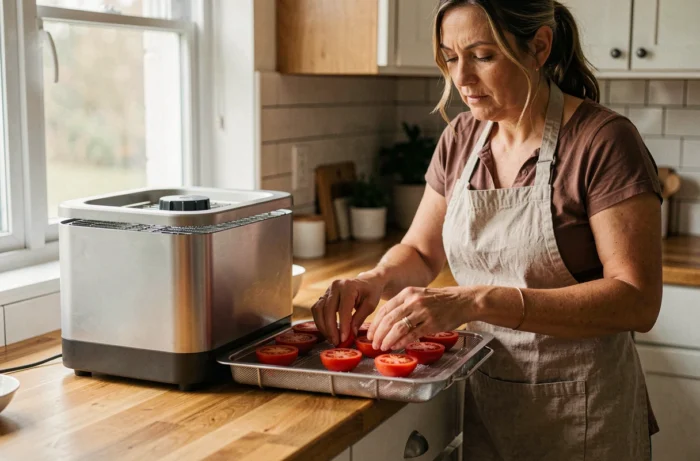
When you find yourself with several kilos of ripe tomatoes at the end of summer and want to avoid waste, a dehydrator solves the issue in a few hours. The result depends less on the device than on the preparation beforehand and the control of residual moisture. Successfully making dried tomatoes in a dehydrator at home requires mastering three specific points: cutting, temperature setting, and preservation, which is often the weak link.
Cutting Thickness and Arrangement on Trays
We start with a detail that changes everything: the thickness of the slices. Slices that are too thin burn at the edges before the center is dry. If they are too thick, they retain a moist core even after long hours.
For classic round tomatoes (like Roma or beefsteak), cut them in half lengthwise, then remove the seeds and some of the juice with your thumb. This action significantly reduces drying time. For cherry tomatoes, simply cutting them in half is sufficient, without seeding.
The arrangement on the trays is as important as the cutting. Each half-tomato should be placed skin side down, without overlapping. Air must circulate freely between the pieces. If you stack or crowd them too much, moisture stagnates and drying becomes uneven. You prepare your dried tomatoes in a dehydrator by loading several trays, but make sure the device allows for good ventilation throughout.
- Roma and olivette: cut in half lengthwise, seed, place cut side up
- Beefsteak: cut into even slices, remove excess juice on paper towels before placing on the tray
- Cherry tomatoes: cut in half, no need to seed, but turn them halfway through drying for an even result
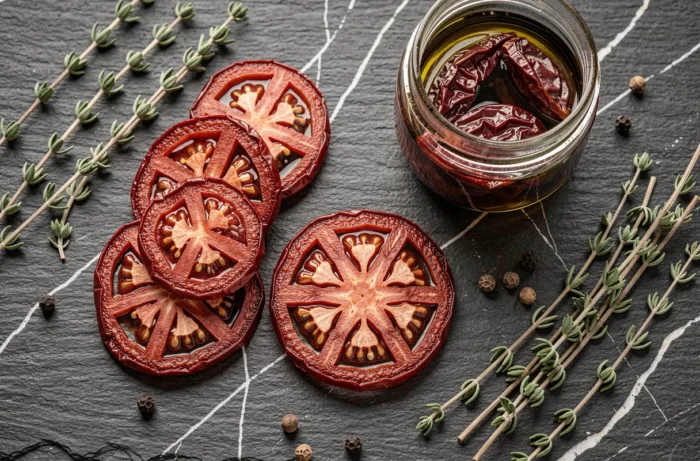
Temperature and Drying Time in the Dehydrator
The classic trap is to raise the temperature to speed things up. This results in tomatoes that are cooked on the outside and soft on the inside, with a taste leaning towards burnt caramel rather than concentrated tomato.
The ideal temperature range is between 55 to 65 °C. Below this, drying takes so long that the tomatoes risk fermenting. Above this, you lose volatile aromas and the texture becomes brittle.
The drying time varies greatly depending on the water content of the variety, the thickness of the pieces, and the ambient humidity. Feedback on this point varies, but generally, complete drying is observed between eight and twelve hours for half-Roma tomatoes, sometimes longer for juicier varieties like Marmande.
How to Check if Drying is Complete
Fold a slice between your thumb and index finger. It should be flexible without sticking, and should not release any juice. If it breaks cleanly, the drying has gone too far. If it leaves a wet mark on your fingers, it needs more time.
Another test: press in the center of the slice. No droplets should form. The edges may be slightly drier than the center, which is normal. However, if the center remains quite soft, put the trays back in for an additional one to two hours.
Preservation of Dried Tomatoes: The Real Critical Point
The majority of tutorials suggest immersing dried tomatoes in a jar of olive oil with garlic and herbs, then storing the whole thing in a cupboard for several months. This practice poses a food safety issue that is rarely mentioned.
Oil does not protect against the risk of botulism. The Clostridium botulinum bacteria thrive precisely in anaerobic (airless), oily environments at room temperature. Updated recommendations from food safety specialists emphasize three cumulative conditions for safe preservation: sufficient drying that reduces the available water in the tomato, acidification of the product, and refrigeration.
Acidify Before Jarring
Adding white vinegar or lemon juice to the tomatoes before covering them with oil is not a matter of taste. It is a safety measure. Acidification lowers the pH and makes the environment hostile to bacterial growth.
You can soak the dried tomatoes for a few minutes in white wine vinegar, drain them, and then place them in the jar with the oil and seasonings. The acidic taste quickly diminishes upon contact with the oil.
- Refrigeration is mandatory, not cupboard storage
- Consume within two to three weeks after jarring
- No long-term storage at room temperature, even with olive oil
- Safer long-term alternative: freeze dried tomatoes in an airtight bag, without oil

Tomato Varieties Suitable for Dehydration
Not all tomatoes yield the same result once dried. Meaty and low-water varieties concentrate flavors better and dry faster. Roma remains the reference for dehydration: dense flesh, few seeds, predictable yield.
The olivette and San Marzano offer a similar profile. High-water content varieties (like Marmande or Montfavet) require significantly longer drying times and produce thinner slices once dehydrated, with a lower final yield.
Cherry tomatoes give a different result: smaller, sweeter pieces, perfect for appetizers or crumbled in a salad. Their drying is quick, but they need to be monitored closely as they quickly go from ideal to too dry.
The choice of variety directly influences drying time, final taste, and quantity obtained. With one kilo of Roma, you recover a usable amount of dried tomatoes. With one kilo of very juicy tomatoes, you get significantly less finished product because water makes up the largest part of the initial weight.
Starting with well-ripened tomatoes, harvested in full season, remains essential. A tomato picked too early yields a bland result, regardless of the dehydrator used. Drying concentrates the flavors already present; it does not create new ones.